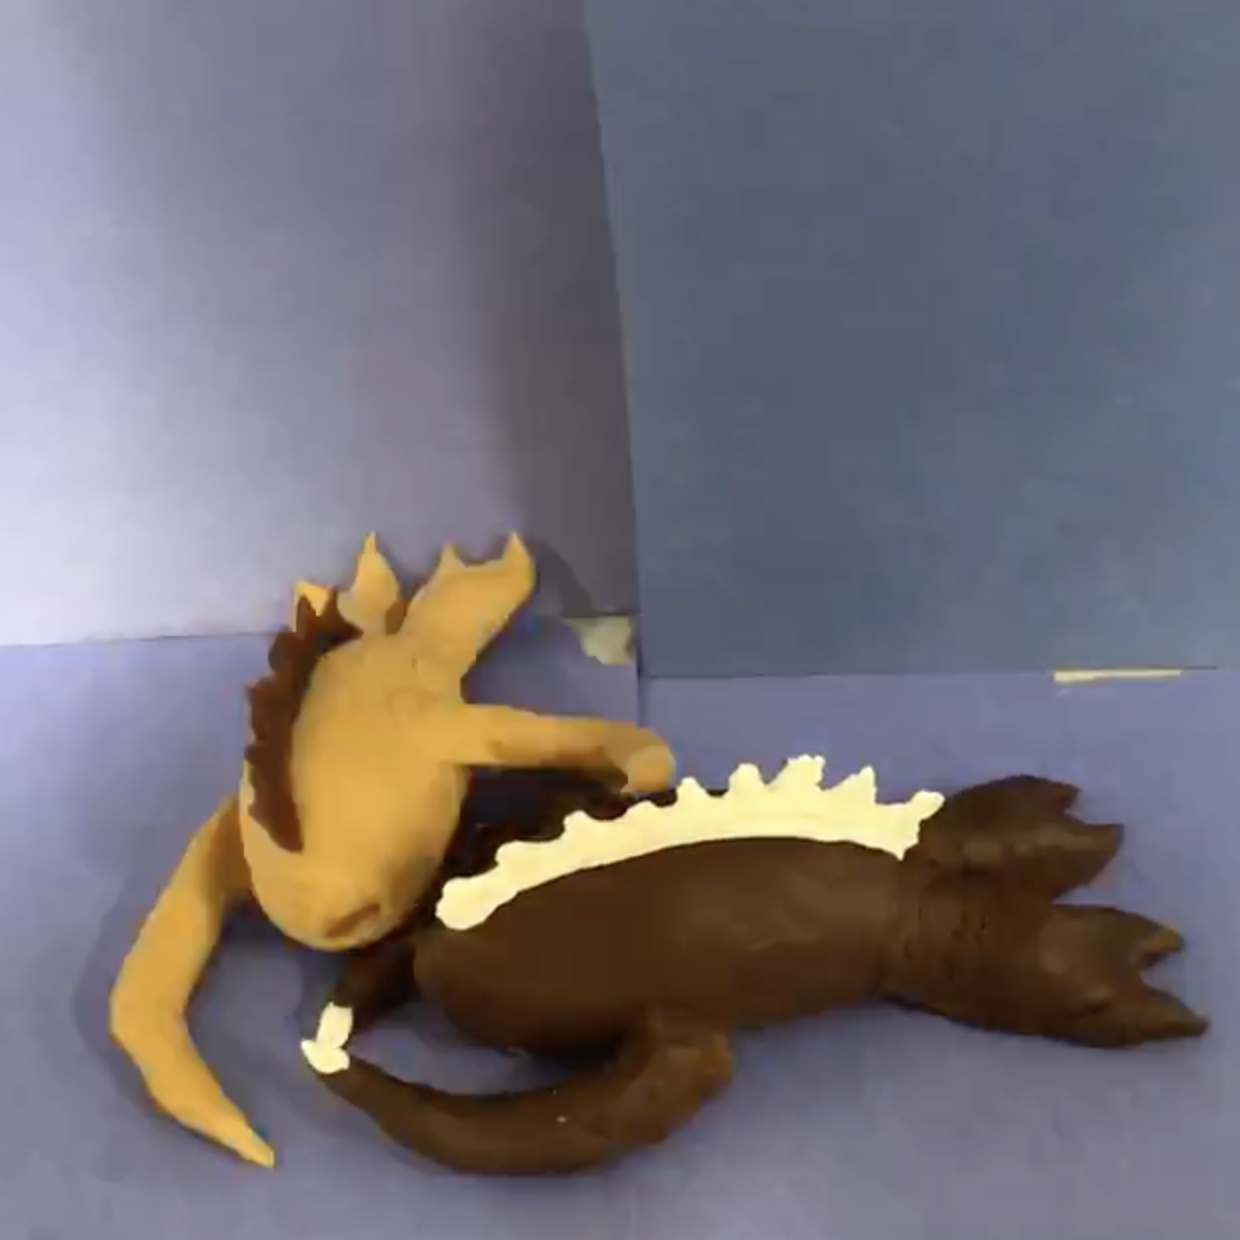
Project: Animated Extraterrestrial Reproduction
Getting freaky with alien stop motion.
Getting freaky with alien stop motion.

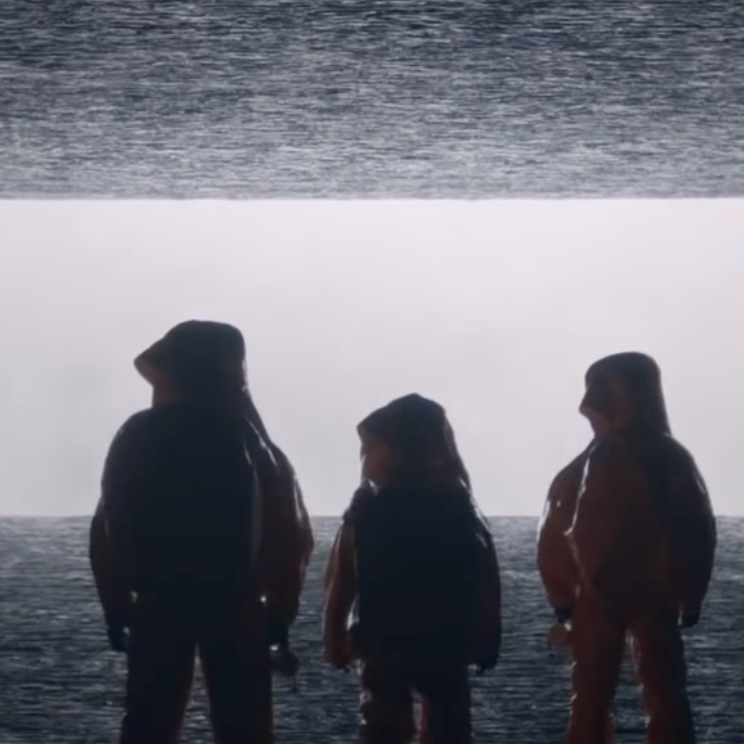
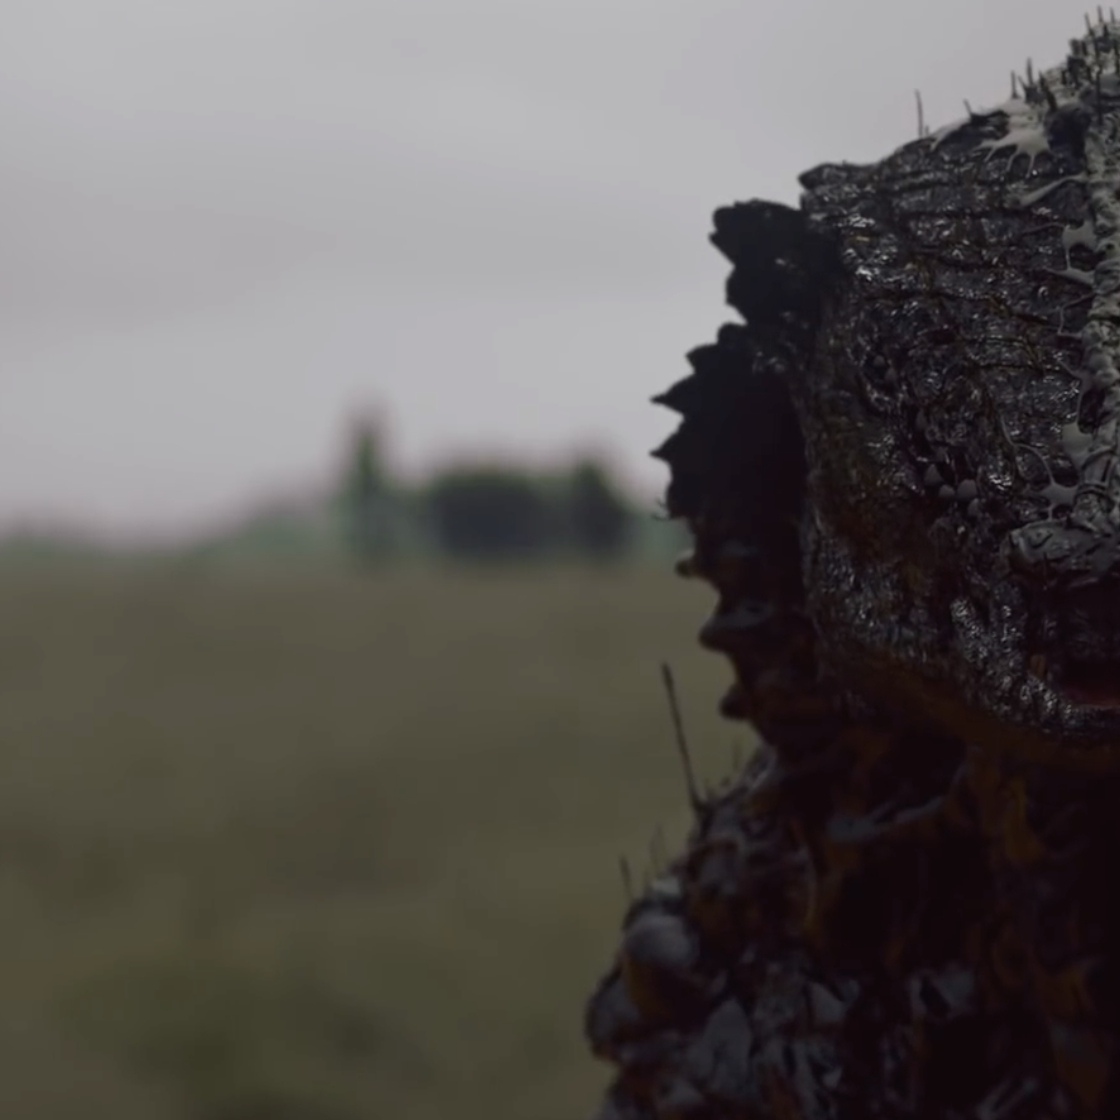
Avast! A fearsome beast terrorizes space whalers in this spec trailer for an unmade feature.
CGI? We don’t need no stinking CGI!

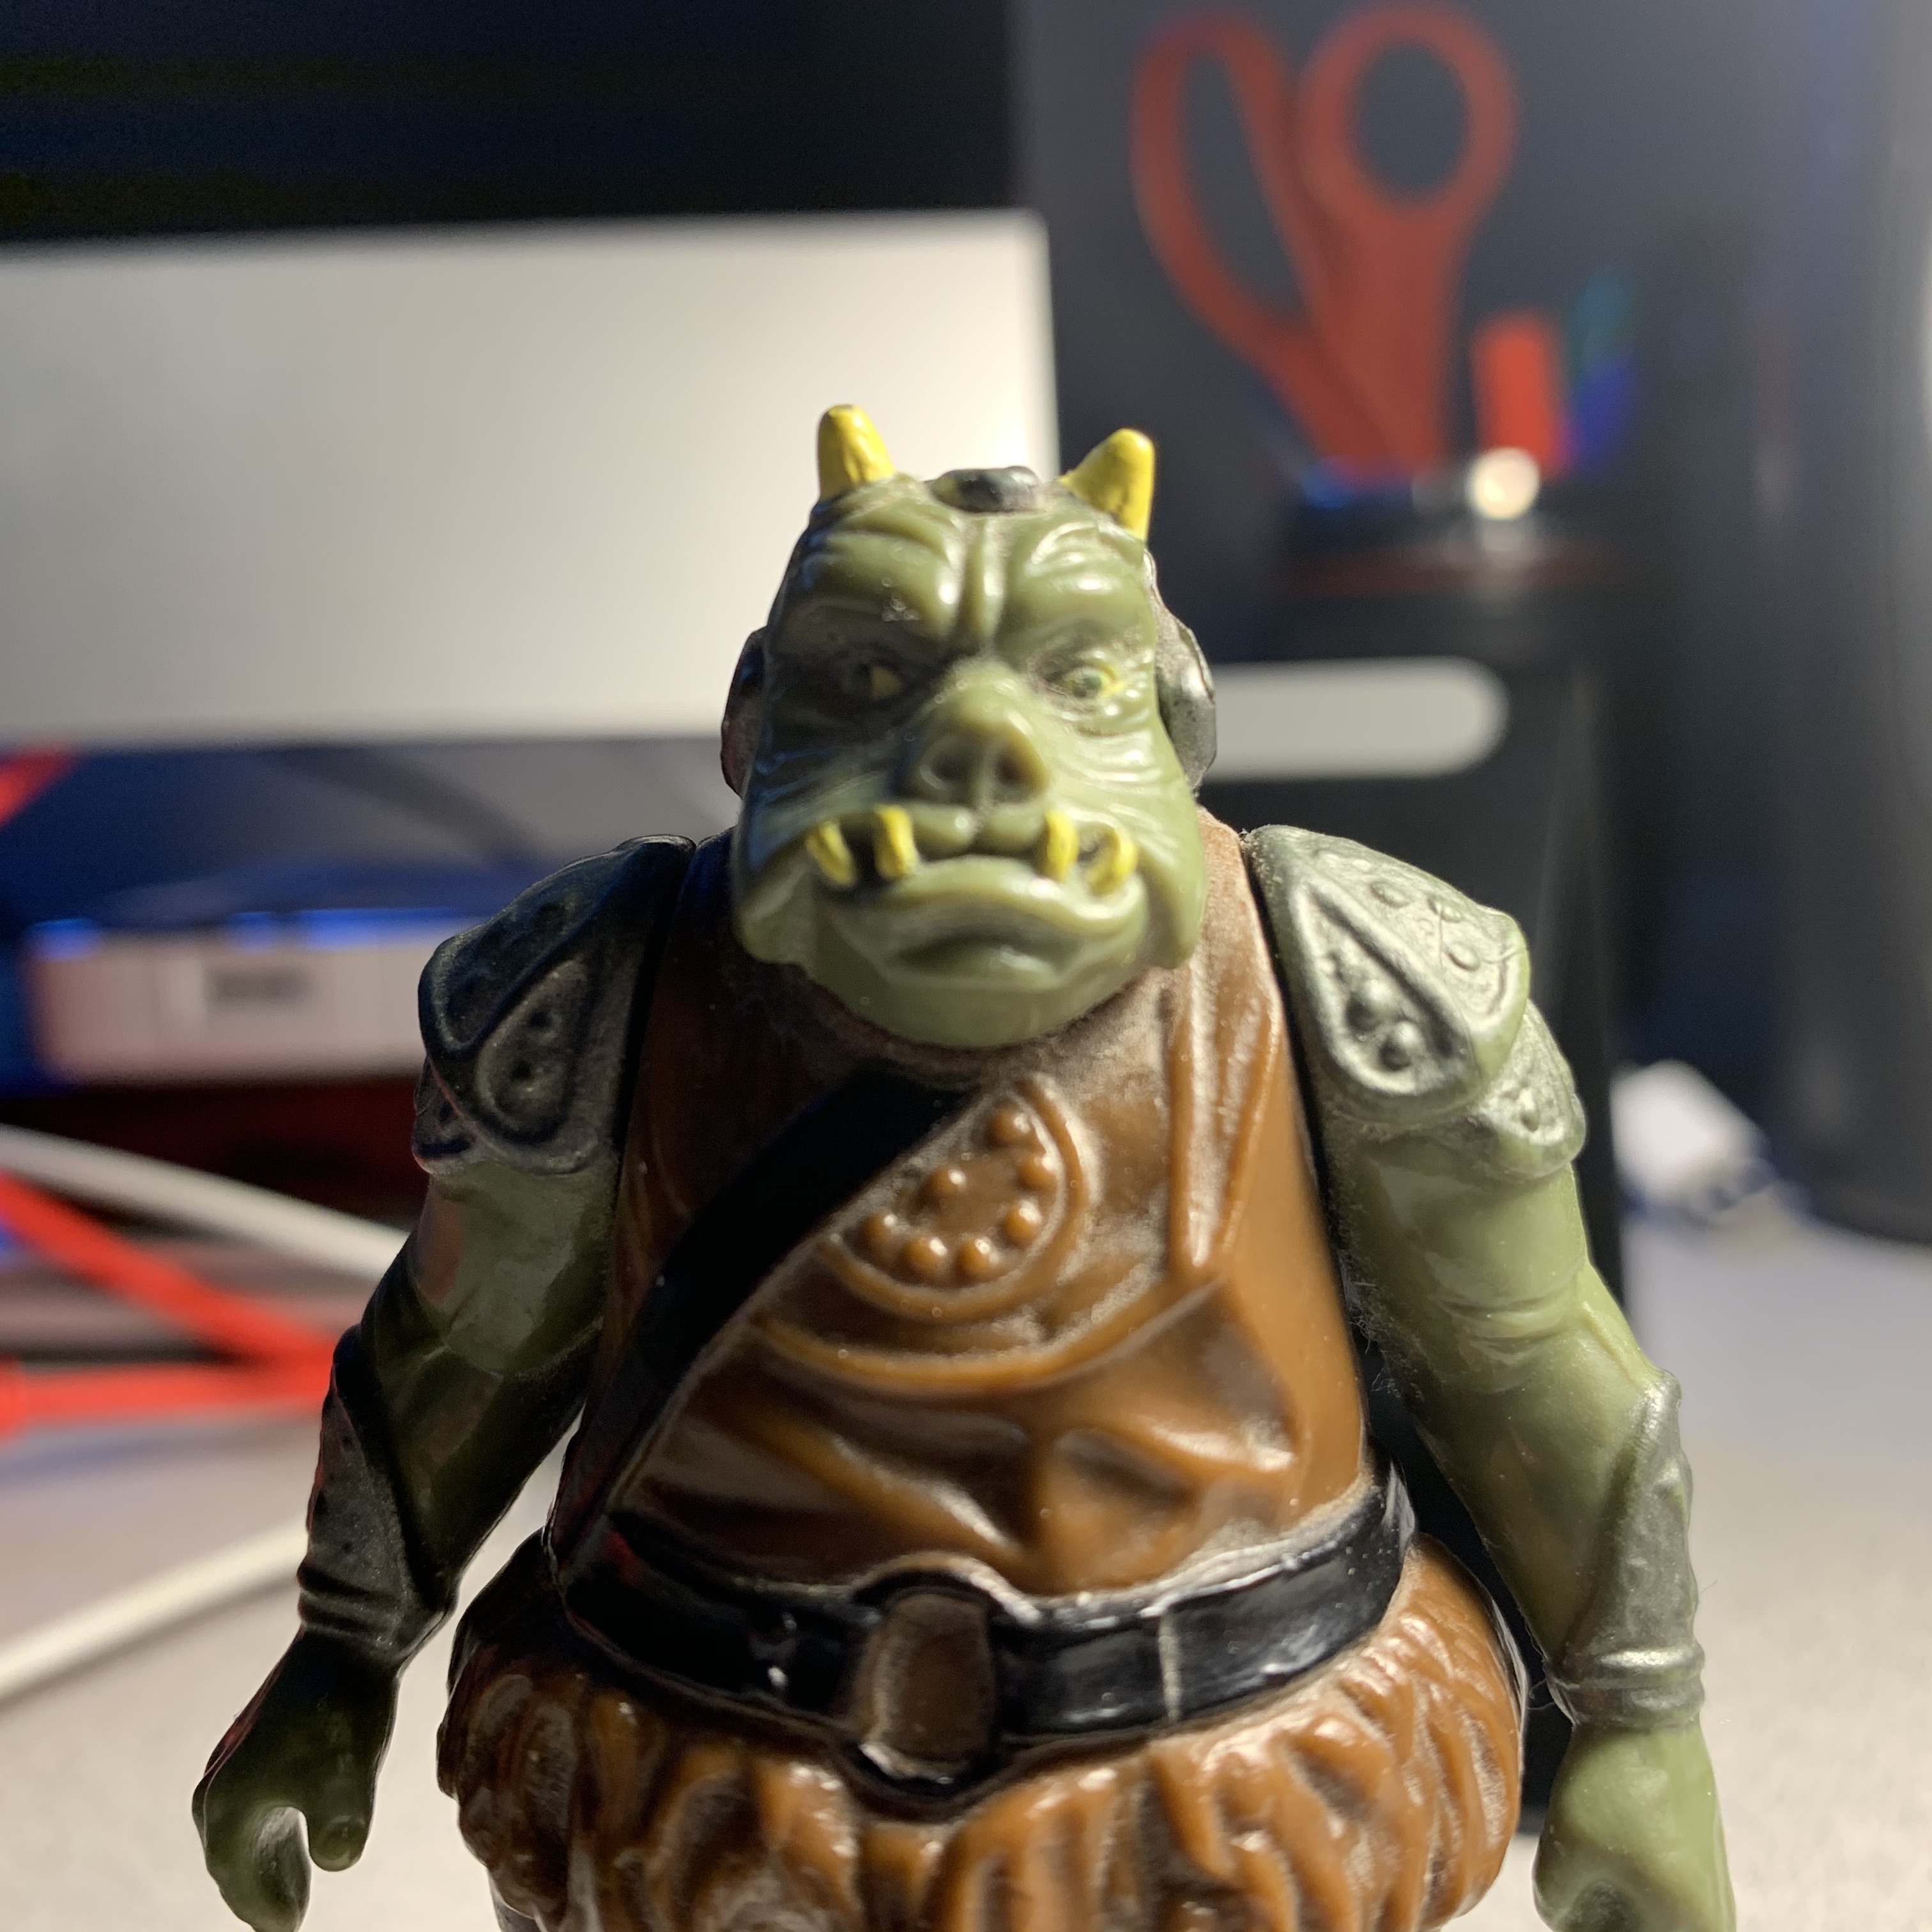
Not just any alien – your alien.
YouTube channel Science vs Cinema digs into the science of the film.

Entice interstellar travelers to visit your exoplanet!

What does an alien look like?
A dark take on the alien invasion story.

Tips for filming interviews and informational videos.

Looking for a cool travel destination? Visit Gethen!