Terminology
- Hard Light and Soft Light
These terms refer to the quality of the light being emitted. Hard light has a sharp edge and creates harsh shadows. Soft light has a diffuse edge and tends to wrap around things, creating subtler shadows. Hard light tends to be dramatic while soft light tends to be flattering. Generally speaking, large light sources (or lights close to the subject) create soft light and small light sources (or lights far away from the subject) create hard light.
- Spot and Flood
Spot and flood are the two extremes of a light’s “throw.” Spot describes light that is concentrated in a small area, generally with a well-defined edge. Flood light is spread over a wide area, generally with a soft edge. Some lights, like fresnels, are focusable, allowing you to go from spot to flood. - Contrast Ratio
Contrast ratio describes the amount of light in two different areas of a shot – generally, the two sides of the subject’s face. For example, a contrast ratio of 4:1 on the subject’s face would have four times as much light on the key side as the fill side. - High Key and Low Key
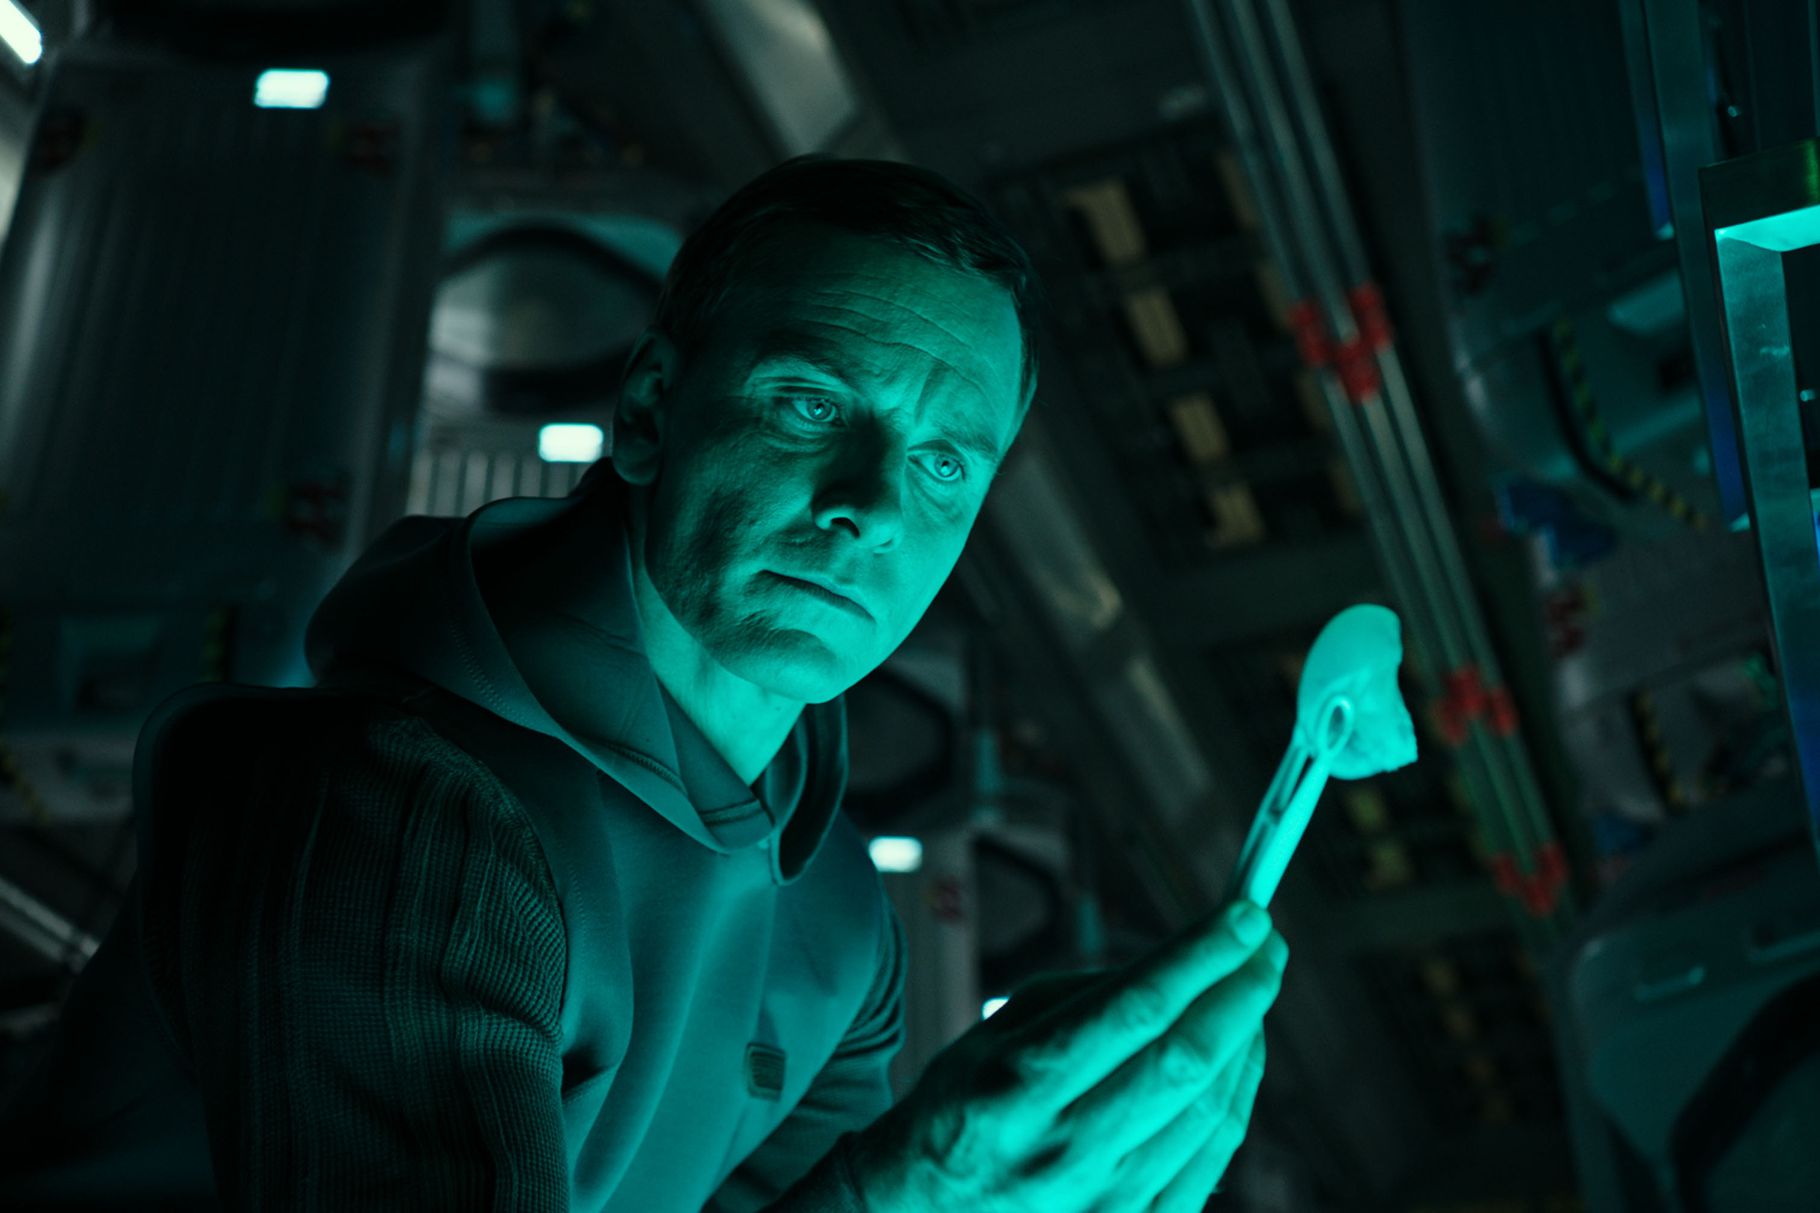
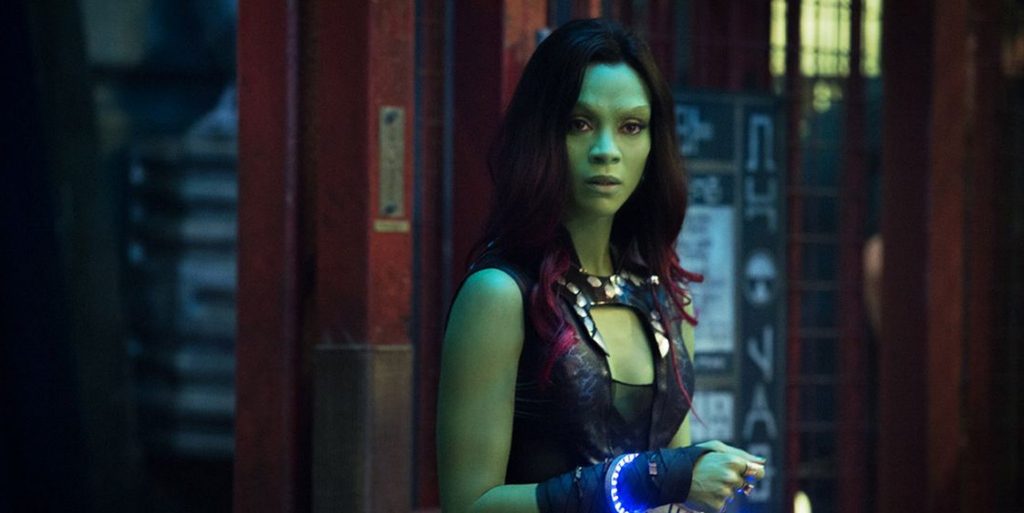
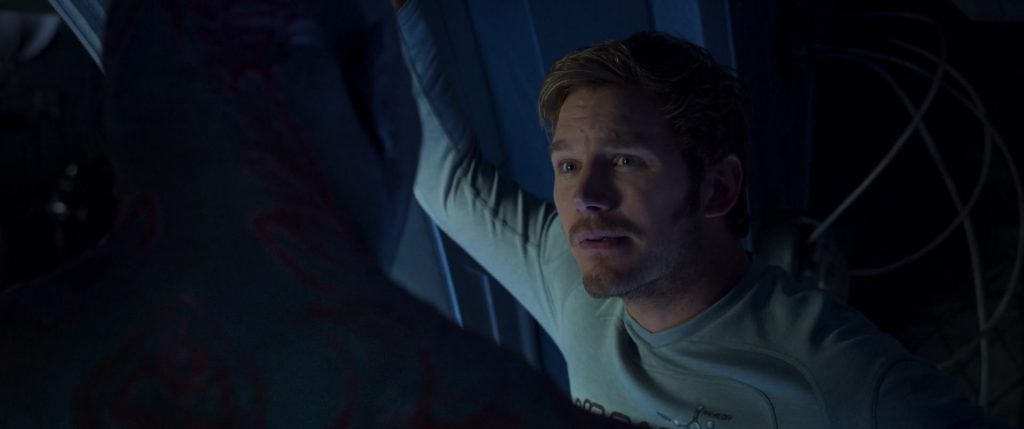
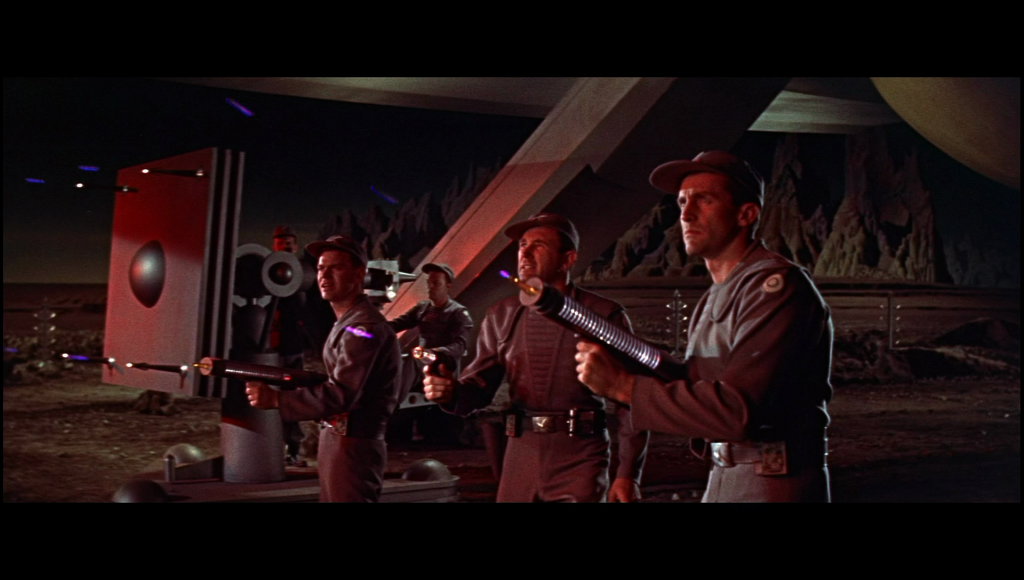
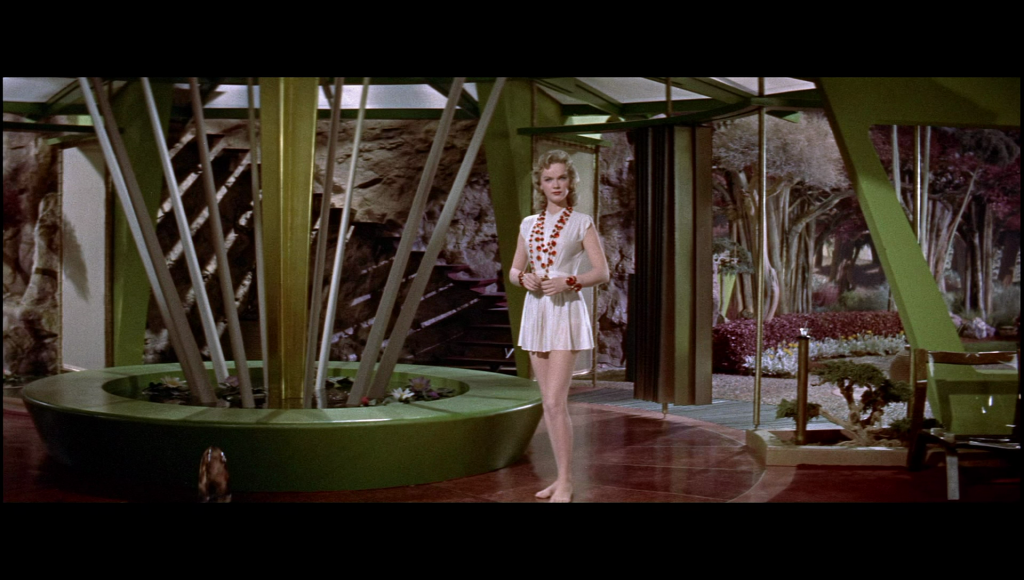
These terms are related to the overall look of a shot, in terms of its contrast between light and dark areas. A high contrast shot with dark shadows is low key and a low contrast shot is high key.
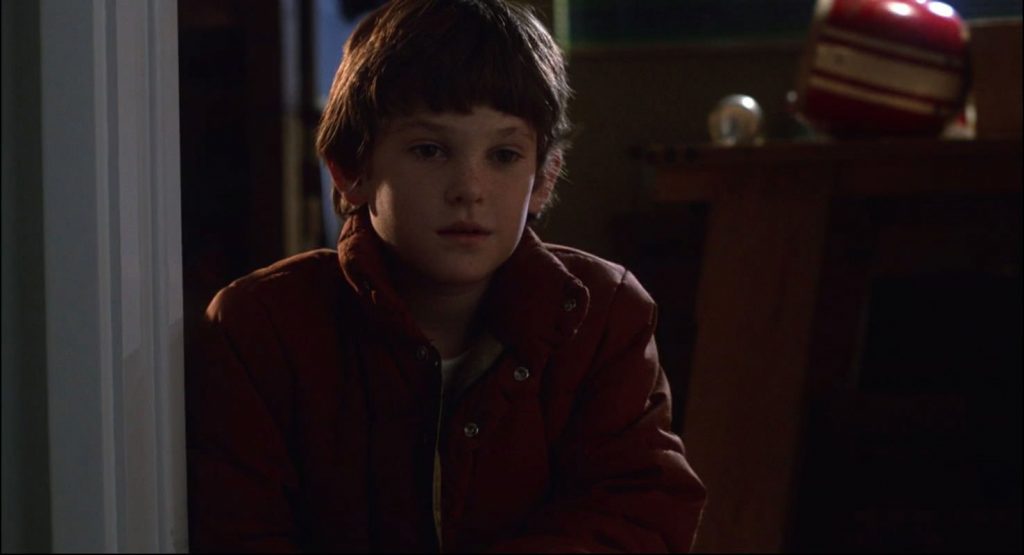
- Key
This is the main light illuminating an actor in a scene. It should be placed in front of the subject and off to one side, creating shadows on half of the face. - Fill
The fill light softens the shadows created by the key light and adds illumination to the side of the face not illuminated by the key light. As such, it should be placed in front of the subject on the opposite side from the key. The fill light should be set to an equal or lower intensity to the key – if it is greater, it becomes the key. - Rim/Back/Hair
The back light is the third light in a classic “three point” setup. It is placed behind the subject, generally on the same side as the key. The back light is used to create an edge of light on the subject and provide visual separation between the subject and the background.
- Bounce
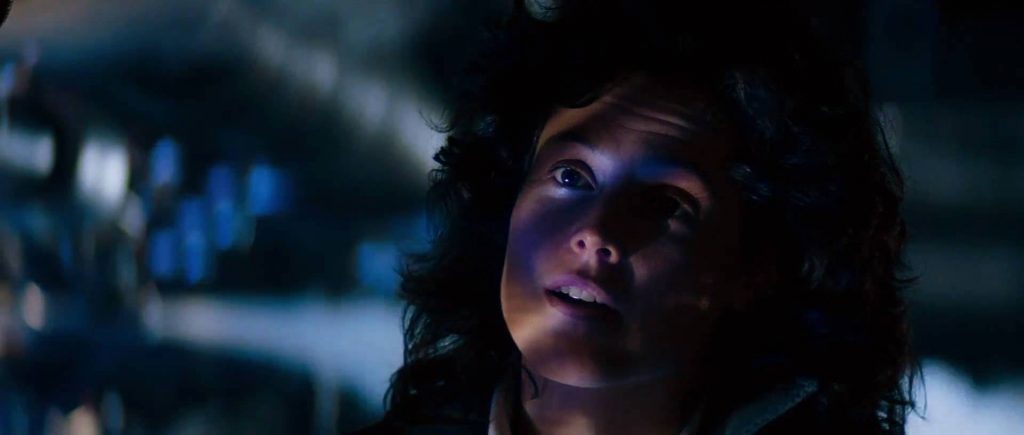
Bounce lighting is reflected off a surface before hitting the subject. Lighting can be bounced off of a reflector, a white card, a wall, the ceiling, or just about anything else. - Cookie
An object placed in front of a light that creates a pattern or shape.
- Practical
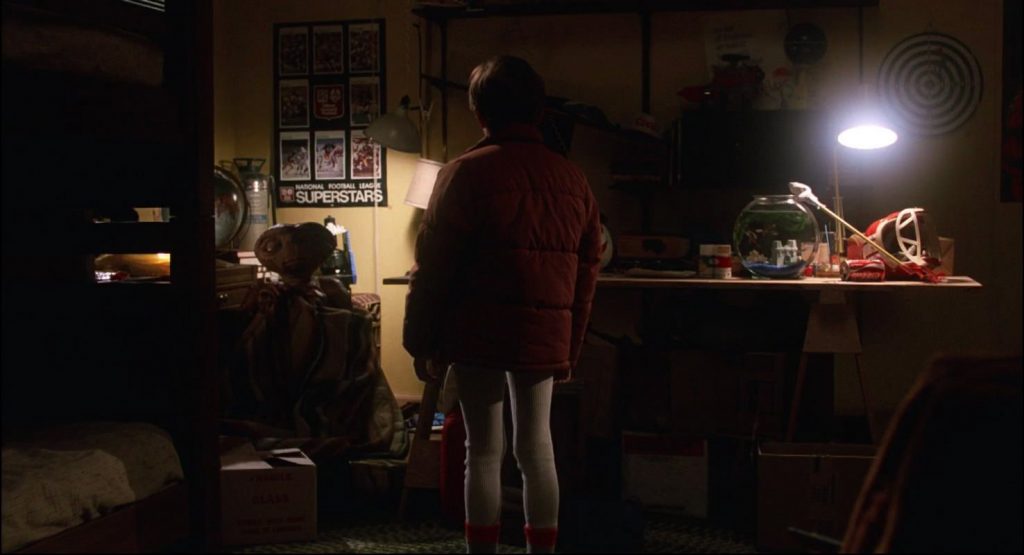
Practical lights are the lights that are visible in the scene – for example, a lamp in the background of a shot. You can place practical lights in a shot to correspond with the off-camera lights you are using to make a scene look as though it is light naturally.
- Ambient
The light that exists in a space before it is lit is its ambient light. Light coming in through a window is one example.
Three Important Points
- Three point lighting describes the fundamental lighting setup – a key and fill light in front of the subject and a back light behind, forming a triangle around the actor
- The key light can be on either side of the actor; it is whichever light is stronger
- The fill light softens the shadows created by the key light and helps to determine the overall contrast ratio
- The back light creates definition and separation between the subject and the background
- Generally speaking, lights should be placed off to the side and a bit higher than the subject
- To create a silhouette, the back light should be the most intense

When you are setting up three point lighting, you have a few factors to consider. How harsh should the shadows be? How intense should the back light be? Which side should the back light be on? These are largely a matter of personal preference and can change from one setup to another. I personally think that the back light looks best on the opposite side from the key, but many lighting diagrams show the opposite. The important thing is to be conscious of how these choices affect your scene.
Contrast Ratios
Contact ratio is incredibly important because it can really help establish the mood of a piece. You will often see a high contrast ratio on highly dramatic or tense films. Low contrast lighting is more flattering than high contrast lighting – it makes skin look soft and even.
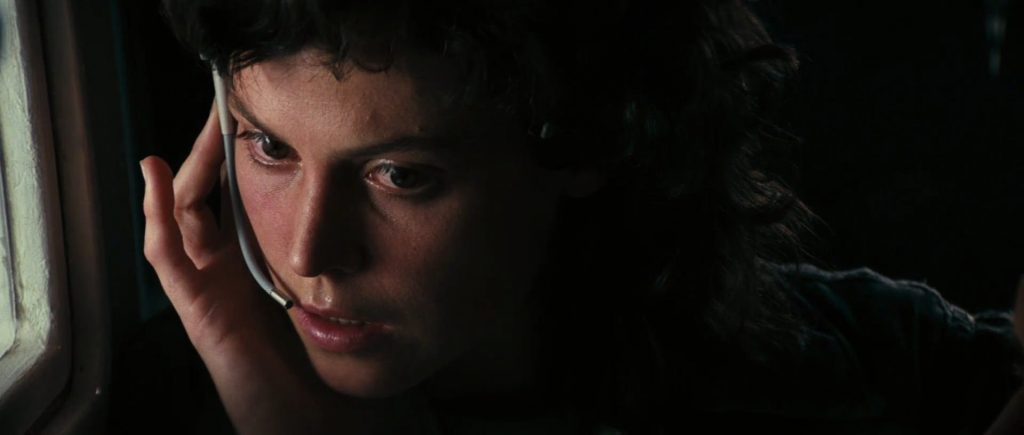
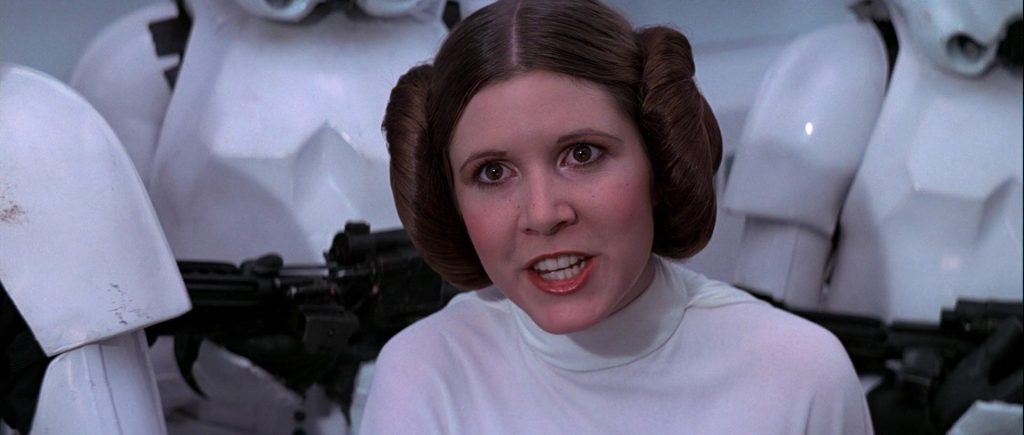
- Average contrast ratio is somewhere around 4:1
- In a shot with high key lighting, the faces of the actors might be lit with a contrast ratio of 3:1 or 2:1
- Low key lighting might use a contrast ratio of 6:1, 10:1, or higher – the greater the contrast ratio, the more dramatic the lighting
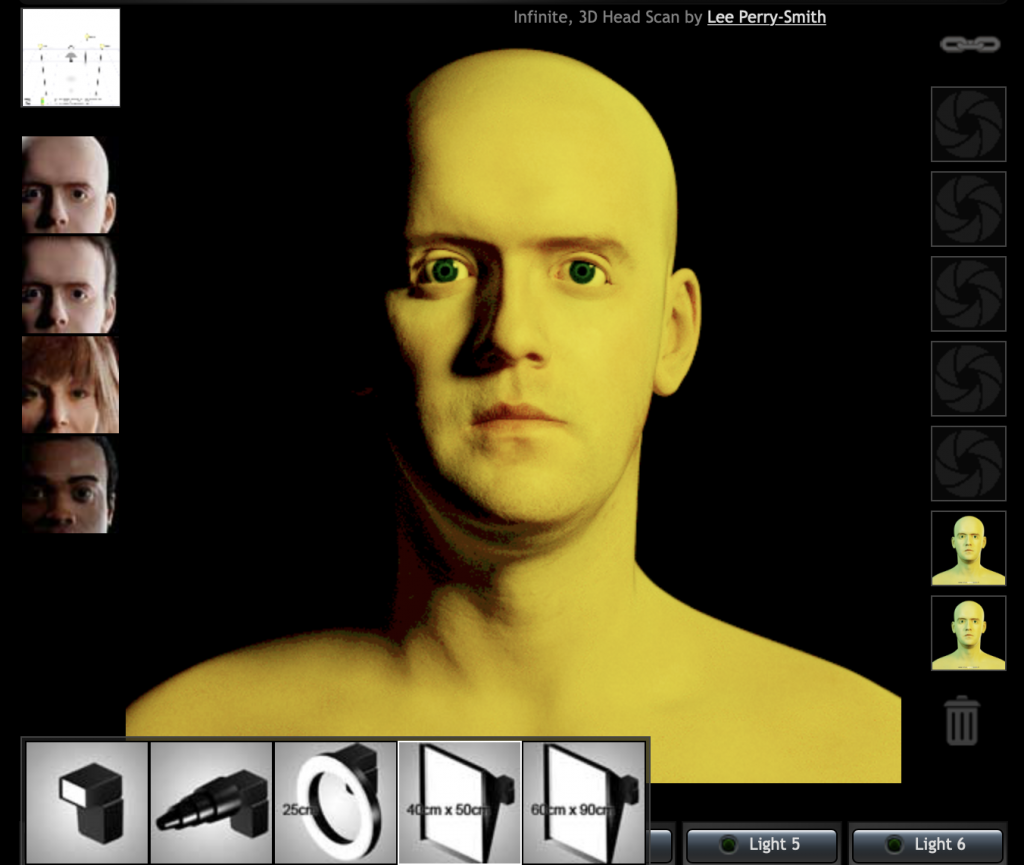
Lighting Simulator
